
[point_maker type=“heading_icon” base_color=“apple_green” title_icon=“info-circle-solid” title_color_background=“true” title_color_border=“false” content_type=“text” content_color_background=“true” content_color_border=“false” block_editor=“true”]
こちらは、 “ゆるWeb勉強会@札幌 Advent Calendar 2020” の 16日目の記事です。
[/point_maker]
前回から引き続き AWS Amplify の Fargate 対応の話です。
https://blog.tacck.net/archives/1111
この話のゴールは、 AWS Amplify の Fargate 対応を使って「 PHP のフレームワークである Laravel をデプロイする」ことです。
Laravel からデータベース(RDSなど)と連携をする部分は、今回はやっていません。
単純に初期画面が表示されるところまで、です。
結論を先に書くと、下記の通り。
- AWS Amplify の Fargate 対応を使って「 PHP のフレームワークである Laravel をデプロイする」ことができた。
- ただし、 docker-compose.yml の書き方がローカル開発時と少し異なる。
- デプロイツールとしては使えそうだが、開発環境としては利用しづらそう。
手順
大まかなものは、 GitHub のリポジトリにあげました。今回使うファイル類もここのものです。
https://github.com/tacck/amplify-fargate-laravel-sample
流れは、下記となります。
- 下準備
- コンテナ関係のファイルを配置
- デプロイ
- 確認
下準備
まずは、ファイル類をダウンロードしつつ Amplify の初期化を行なってください。
$ git clone https://github.com/tacck/amplify-fargate-laravel-sample.git
$ cd amplify-fargate-laravel-sample
$ amplify init
Note: It is recommended to run this command from the root of your app directory
? Enter a name for the project amplifyfargatelarave
? Enter a name for the environment dev
? Choose your default editor: Visual Studio Code
? Choose the type of app that you're building javascript
Please tell us about your project
? What javascript framework are you using none
? Source Directory Path:  src
? Distribution Directory Path: dist
? Build Command:  npm run-script build
? Start Command: npm run-script start
Using default provider  awscloudformation

For more information on AWS Profiles, see:
https://docs.aws.amazon.com/cli/latest/userguide/cli-configure-profiles.html

? Do you want to use an AWS profile? Yes
? Please choose the profile you want to use default
Adding backend environment dev to AWS Amplify Console app: d1gi9ojzakilo5
⠇ Initializing project in the cloud...

(snip)

$
init が終わったら、コンテナを使うように変更します。
$ amplify configure project
? Enter a name for the project amplifyfargatelarave
? Choose your default editor: Visual Studio Code
? Choose the type of app that you're building javascript
Please tell us about your project
? What javascript framework are you using none
? Source Directory Path:  src
? Distribution Directory Path: dist
? Build Command:  npm run-script build
? Start Command: npm run-script start
? Do you want to enable container-based deployments? Yes
Using default provider  awscloudformation

For more information on AWS Profiles, see:
https://docs.aws.amazon.com/cli/latest/userguide/cli-configure-profiles.html

For the awscloudformation provider.
? Do you want to update or remove the project level AWS profile? No

Successfully made configuration changes to your project.

$
11行目でコンテナ (Fargate) を使うように指定しています。
コンテナ関係のファイルを配置
続いて、API機能を有効にしてコンテナ関係のファイルを配置していきます。
まずは、API機能を有効にするところからです。
$ amplify add api
? Please select from one of the below mentioned services: REST
? Which service would you like to use API Gateway + AWS Fargate (Container-based)
? Provide a friendly name for your resource to be used as a label for this category in the project: container
? What image would you like to use Custom (bring your own Dockerfile or docker-compose.yml)
? When do you want to build & deploy the Fargate task On every "amplify push" (Fully managed container source)
? Do you want to restrict API access No
Successfully added resource container locally.

Next steps:
- Place your Dockerfile, docker-compose.yml and any related container source files in "amplify/backend/api/container/src"
- Amplify CLI infers many configuration settings from the "docker-compose.yaml" file. Learn more: docs.amplify.aws/cli/usage/containers
- Run "amplify push" to build and deploy your image
Successfully added resource container locally

Some next steps:
"amplify push" will build all your local backend resources and provision it in the cloud
"amplify publish" will build all your local backend and frontend resources (if you have hosting category added) and provision it in the cloud

$
3行目で API Gateway + AWS Fargate (Container-based) を選択します。
また、作業の関係から4行目は container と入力してください。
5行目は自前のファイル類を使うので Custom を選択します。
続いて、今回は私の用意したファイル類を API のディレクトリの方へコピーします。
$ cp -r container/src amplify/backend/api/containerその後、 Laravel のプロジェクトを新規作成します。
$ pushd amplify/backend/api/container/src/php/web
$ composer create-project --prefer-dist laravel/laravel laravel
$ popd
結果として、ファイルとディレクトリ構成はこちらのようになっています。
amplify/backend/api/container/src/
├── docker-compose.yml
└── php
    ├── Dockerfile
    └── web
        ├── Dockerfile
        ├── default.conf
        └── laravel/
フィアルの中をそれぞれ見ていきましょう。
docker-compose.yml
version: "3.8"
services:
  web:
    build:
      context: ./php/web
      dockerfile: Dockerfile
    ports:
      - "8080:8080"
    networks:
      - public
      - private
  app:
    build:
      context: ./php
      dockerfile: Dockerfile
    ports:
      - "9000:9000"
    networks:
      - public
      - private
networks:
  public:
  private:
不要なものもあるかもしれませんが、テンプレートとなっていたものを参考に作成しました。
テンプレートのコードはこちら。
ここで実現したいことは、下記となります。
- Webサーバ用のコンポーネント (web) と、PHP実行用のコンポーネント (app) の二つが必要。
- 両方のコンポーネントで同一のアプリケーションコードを参照する必要あり。
前回の記事でも書いた通り、 dockerfile でファイル名を指定していますが実際に有効なファイル名は Dockerfile に限られます。
Amazon ECS の制限で build ディレクティブはサポートされていない とのことなので、それがこの制限になっていると思います。
この制限を回避しつつ上記二つの要求を満たすために、今回のようなディレクトリ構造を取る必要がありました。
php/Dockerfile
FROM public.ecr.aws/bitnami/php-fpm:7.4

ENV PORT=9000
EXPOSE 9000

COPY web/laravel /app
RUN chown -R www-data:www-data /app/storage
RUN chmod -R o+w /app/storage
PHPの実行環境のコンテナです。特に難しいことはしていません。
テンプレートにある通りに必要なポートを EXPOSE をしています。( ENV は無くても動くと思います。)
あと、 Laravel 特有の処理で、ログファイルやキャッシュファイルが保存されるディレクトリのオーナーと書き込み権限を変更しています。
php/web/Dockerfile
FROM public.ecr.aws/nginx/nginx:1.18

ENV PORT=8080
EXPOSE 8080

COPY default.conf /etc/nginx/conf.d/default.conf
COPY laravel /app
こちらも、必要なポートを EXPOSE しています。( ENV は無くても動くと思います。)
php/web/default.conf
server {
    listen       8080;
    listen  [::]:8080;
    server_name  localhost;

    root /app/public;
    index index.php index.html index.htm;
    access_log /var/log/nginx/access.log;
    error_log /var/log/nginx/error.log;
    location / {
        try_files $uri $uri/ /index.php$is_args$args;
    }
    location ~ \.php$ {
        fastcgi_split_path_info ^(.+\.php)(/.+)$;
        fastcgi_pass localhost:9000;
        fastcgi_index index.php;
        include fastcgi_params;
        fastcgi_param SCRIPT_FILENAME $document_root$fastcgi_script_name;
        fastcgi_param PATH_INFO $fastcgi_path_info;
    }
}
PHP-FPM を利用する場合の典型的な感じだと思います。
15行目で、 app コンテナに処理を投げていますね。
デプロイ
ファイルが揃ったので、デプロイしましょう。
$ amplify push
✔ Successfully pulled backend environment dev from the cloud.

Current Environment: dev

| Category | Resource name | Operation | Provider plugin   |
| -------- | ------------- | --------- | ----------------- |
| Api      | container     | Create    | awscloudformation |
? Are you sure you want to continue? Yes
? Select which container is the entrypoint web

In a few moments, you can check image build status for container at the following URL:
https://ap-northeast-1.console.aws.amazon.com/codesuite/codepipeline/pipelines/amplify-amplifyfargatelarave-dev-XXXXXX-container-service-web-8080/view

It may take a few moments for this to appear. If you have trouble with first time deployments, please try refreshing this page after a few moments and watch the CodeBuild Details for debugging information.
⠼ Updating resources in the cloud. This may take a few minutes...

UPDATE_IN_PROGRESS amplify-amplifyfargatelarave-dev-XXXXXX AWS::CloudFormation::Stack Tue Dec 15 2020 13:11:34 GMT+0900 (GMT+09:00) User Initiated
⠦ Updating resources in the cloud. This may take a few minutes...

(snip)

UPDATE_COMPLETE_CLEANUP_IN_PROGRESS amplify-amplifyfargatelarave-dev-XXXXXX AWS::CloudFormation::Stack Tue Dec 15 2020 13:21:34 GMT+0900 (GMT+09:00)
✔ All resources are updated in the cloud

REST API endpoint: https://XXXXXXXXXX.execute-api.ap-northeast-1.amazonaws.com

$
無事にデプロイできました。 REST API endpoint にアクセスしてみると、、、
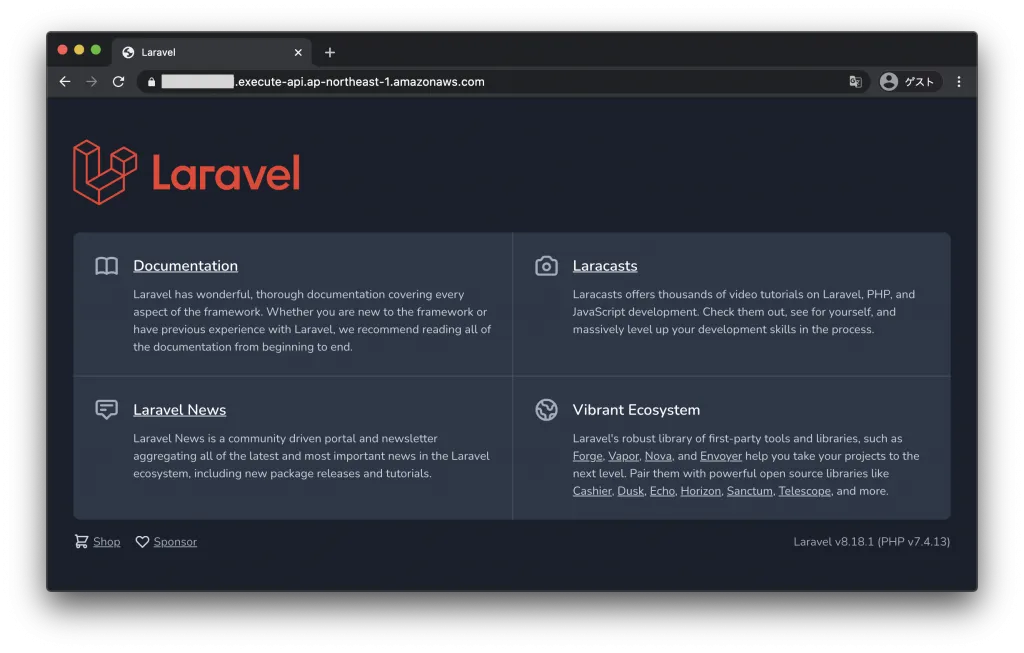
Laravel の初期画面
無事に Laravel の初期画面が表示されました!
ちなみに、 Fargate のタスクサイズとして、 0.5 vCPU と 1 GB メモリが設定されるようです。

Fargate の停止
さて、 Lambda と違って Fargate は一度動かし始めたら、何もしていない間も課金されます。
上記のようにサイズは小さいですが、忘れて動かし続けてしまうとそれなりの料金になるので、現時点での止め方も見ておきましょう。
といっても、 API機能を削除するか、プロジェクトを削除するか、しかなさそうです。
ここでは、API機能を削除してみます。
$ amplify remove api
? Choose the resource you would want to remove container

? Are you sure you want to delete the resource? This action deletes all files related to this resource from the backend directory
. Yes
Successfully removed resource
$ amplify push
✔ Successfully pulled backend environment dev from the cloud.

Current Environment: dev

| Category | Resource name | Operation | Provider plugin   |
| -------- | ------------- | --------- | ----------------- |
| Api      | container     | Delete    | awscloudformation |
? Are you sure you want to continue? Yes
⠸ Updating resources in the cloud. This may take a few minutes...

UPDATE_IN_PROGRESS amplify-amplifyfargatelarave-dev-XXXXXX AWS::CloudFormation::Stack Tue Dec 15 2020 13:40:56 GMT+0900 (GMT+09:00) User Initiated
⠸ Updating resources in the cloud. This may take a few minutes...

(snip)

UPDATE_COMPLETE amplify-amplifyfargatelarave-dev-XXXXXX AWS::CloudFormation::Stack Tue Dec 15 2020 13:44:27 GMT+0900 (GMT+09:00)
DELETE_COMPLETE NetworkStack                            AWS::CloudFormation::Stack Tue Dec 15 2020 13:44:27 GMT+0900 (GMT+09:00)
✔ All resources are updated in the cloud


$
これで削除できました。 (AWS Console で ECS のクラスターを確認しておいてください。)
[point_maker type=“simple_tab” base_color=“crimson” title_icon=“exclamation-triangle-solid” title_color_background=“true” title_color_border=“false” content_type=“text” content_color_background=“true” content_color_border=“false” block_editor=“true”]
上記実行すると、 amplify/backend/api/container ディレクトリ以下のファイルが削除されます。
コードや設定ファイルが削除されても良い状態か、確認してから実行してください。
[/point_maker]
まとめ
ということで、「Fargate (ECS) に適用可能な Dockerfile や Docker Compose の定義ができていれば」、 PHP のフレームワークである Laravel を Amplify のコマンド一発でデプロイできる、ということが確認できました。
実際にやってみての、メリット・デメリットです。
メリット
- Docker 周りの定義に馴染めば、 ECS や Fargate をコマンドでデプロイするときに必要だった「サブネット」や「セキュリティグループ」、「タスク設定」といったものを気にせずにコンテナサービスを利用できる。
- さらに、上記を簡単に外部公開できる。
現時点のデメリット
- 設定を気にしなくていい分、細かい制御が難しそう。(多分、 CloudFormation ファイルに手を入れることになる。)
- 手元にコードを残した状態で Fargate の停止をできない。
- Dockerfile などの設定がデプロイ用(コードを内包したコンテナイメージ作成必要)になるので、開発中のコードを Volume でマウントしてローカル実行する、という場合の設定と共用できない。
デメリットの下二つについては、「 Amplify プロジェクト内で開発しながらローカルチェックし、時々デプロイしてリモートチェックする」というような開発スタイルが取れないことになります。
なので、現時点でこれを使ってバリバリ開発する、というのは難しそうですね。
現状は、コンテナ関係の知識と資産があってとにかく一発でサービスをリリースしたい、という時の選択肢としては使えそうです。
そして、今後のバージョンアップで上記のデメリットも解消されていけば、コンテナベースで開発・運用をやりたい時の有力な選択肢になっていくと思います。