
[point_maker type=“heading_icon” base_color=“apple_green” title_icon=“info-circle-solid” title_color_background=“true” title_color_border=“false” content_type=“text” content_color_background=“true” content_color_border=“false” block_editor=“true”]
こちらは、“AWS Amplify Advent Calendar 2021” および、
“ゆるWeb勉強会@札幌 Advent Calendar 2021” の 13日目の記事です。
[/point_maker]
先日に、 Amplify の新機能の一つ override の記事を書きました。
今回も新機能の一つ custom の方を見てみたいと思います。
“AWS Amplify Advent Calendar 2021”の13日目の記事で @hedgehog051 さんが CloudFormation を使った custom の記事を書いていらっしゃいます。
https://qiita.com/hedgehog051/items/d23d4a257f69ecbc36a0
私の方では、 CDK を使った例を書いてみたいと思います。
私の方も、 SNS でメールを送信するシステムを作ります。こちらは、ログインしたしたユーザーが、 SNS を使ってメール送信をする、という流れにしたいと思います。
手順での細かいところは省いている部分があります。
手順
React プロジェクト作成
まずは、 React プロジェクトを作成します。
$ npx create-react-app amplify-custom-cdk
$ cd amplify-custom-cdk
$
Amplify プロジェクト対応
次は、 Amplify のプロジェクト化します。
$ amplify init -y
$
続けて、 Amplify UI を導入します。
$ npm install aws-amplify @aws-amplify/ui-react
$
認証機能追加
今回は、画面でログインしたユーザーが SNS でメッセージを送れるようにしたいと思います。
そのため、認証機能を追加します。(ここで一旦 push しておきます。)
$ amplify add auth
Using service: Cognito, provided by: awscloudformation

 The current configured provider is Amazon Cognito.

 Do you want to use the default authentication and security configuration? Default configuration
 Warning: you will not be able to edit these selections.
 How do you want users to be able to sign in? Username
 Do you want to configure advanced settings? No, I am done.
✅ Successfully added auth resource amplifycustomcdkdee90a5d locally

✅ Some next steps:
"amplify push" will build all your local backend resources and provision it in the cloud
"amplify publish" will build all your local backend and frontend resources (if you have hosting category added) and provision it in the cloud

$ amplify push
カスタム機能追加
同じく、カスタム機能を追加します。
$ amplify add custom
✔ How do you want to define this custom resource? · AWS CDK
✔ Provide a name for your custom resource · customResourcea19edc18
✅ Created skeleton CDK stack in amplify/backend/custom/customResourcea19edc18 directory
✔ Do you want to edit the CDK stack now? (Y/n) · no
$
CDK のスタックができるので、下記のように書きます。
amplify-custom-cdk/amplify/backend/custom/customResourcea19edc18/cdk-stack.ts
import * as cdk from '@aws-cdk/core';
import * as AmplifyHelpers from '@aws-amplify/cli-extensibility-helper';
import { AmplifyDependentResourcesAttributes } from '../../types/amplify-dependent-resources-ref';
import * as iam from '@aws-cdk/aws-iam';
import * as sns from '@aws-cdk/aws-sns';
import * as subs from '@aws-cdk/aws-sns-subscriptions';
export class cdkStack extends cdk.Stack {
constructor(scope: cdk.Construct, id: string, props?: cdk.StackProps, amplifyResourceProps?: AmplifyHelpers.AmplifyResourceProps) {
super(scope, id, props);
/* Do not remove - Amplify CLI automatically injects the current deployment environment in this input parameter */
new cdk.CfnParameter(this, 'env', {
type: 'String',
description: 'Current Amplify CLI env name',
});
/* AWS CDK code goes here - learn more: https://docs.aws.amazon.com/cdk/latest/guide/home.html */
const projectName = AmplifyHelpers.getProjectInfo().projectName;
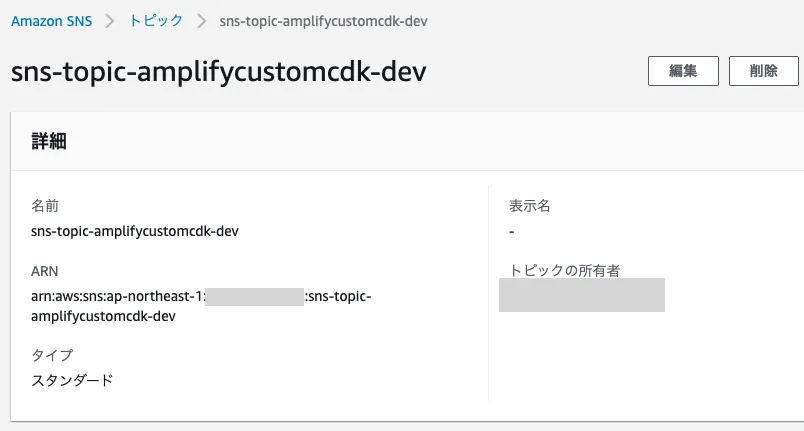
const topic = new sns.Topic(this, 'sns-topic', {
topicName: `sns-topic-${projectName}-${cdk.Fn.ref('env')}`
});
topic.addSubscription(new subs.EmailSubscription('[YOUR_EMAIL_ADDRESS]'));
const role = iam.Role.fromRoleArn(this, 'CusstomRole', '[YOUR_IAM_ROLE_ARN]');
console.log('role', role)
role.addToPolicy(
new iam.PolicyStatement({
actions: ["sns:*"],
resources: [topic.topicArn],
})
)
}
}[YOUR_EMAIL_ADDRESS] は、あなたのメール受信できるメールアドレスを記載してください。
[YOUR_IAM_ROLE_ARN] には、先ほど作成した認証で作られている IAM Role の ARN を指定します。私の場合だと、 amplify-amplifycustomcdk-dev-130521-authRole という名前のロールの ARN です。
数字部分が、作成者によって変わると思います。
この部分は、 CDK の設定をうまくやっていけばこのように直接書かなくてもよくなるかもしれません。(ここは私の CDK 力をもっとあげたいです。)
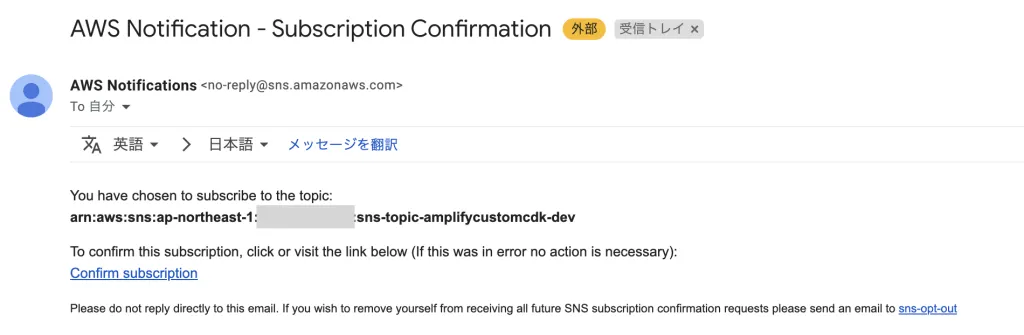
作成できたら、 push しましょう。
下記のように、確認メールが受信できるので Confirm subscription をクリックしましょう。
画面作成
画面はざっくりと、最低限の機能だけ実装します。
また、SNSを使うために AWS SDK を追加します。
$ npm install aws-sdkamplify-custom-cdk/src/index.js
import React from 'react';
import ReactDOM from 'react-dom';
import './index.css';
import App from './App';
import reportWebVitals from './reportWebVitals';

import Amplify from "aws-amplify";
import { AmplifyProvider } from '@aws-amplify/ui-react';
import '@aws-amplify/ui-react/styles.css'; // default theme
import awsExports from "./aws-exports";
Amplify.configure(awsExports);

ReactDOM.render(
  <React.StrictMode>
    <AmplifyProvider>
      <App />
    </AmplifyProvider>
  </React.StrictMode>,
  document.getElementById('root')
);

// If you want to start measuring performance in your app, pass a function
// to log results (for example: reportWebVitals(console.log))
// or send to an analytics endpoint. Learn more: https://bit.ly/CRA-vitals
reportWebVitals();
amplify-custom-cdk/src/App.js
import './App.css';
import { Auth } from 'aws-amplify';
import { Authenticator, Button } from '@aws-amplify/ui-react';
import AWS from 'aws-sdk';

AWS.config.update({region: 'ap-northeast-1'});

function App() {
  return (
    <div className="App">
     <Authenticator>
      {({ signOut, user }) => (
        <div>
        <Button variation="primary" onClick={() => sendTopic()} >send</Button>

        <Button onClick={signOut}>Sign out</Button>
        </div>
      )}
    </Authenticator>
    </div>
  );
}

export default App;

async function sendTopic() {
  const user = await Auth.currentUserInfo();
  console.log(user);
  AWS.config.credentials = await Auth.currentUserCredentials();

  const params = {
    Message: 'sample message',
    Subject: 'sample title',
    TopicArn: '[YOUR_TOPIC_ARN]'
  };

  const publishTextPromise = new AWS.SNS({apiVersion: '2010-03-31'}).publish(params).promise();
  publishTextPromise.then(
    function(data) {
      console.log(`Message ${params.Message} sent to the topic ${params.TopicArn}`);
      console.log("MessageID is " + data.MessageId);
    }).catch(
      function(err) {
      console.error(err, err.stack);
    });
}
[YOUR_TOPIC_ARN] に、 SNS トピックの ARN を記載してください。(本当なら .env 辺りを使いましょう。)
試してみる
実際に確認しましょう。
今回はローカルで起動します。
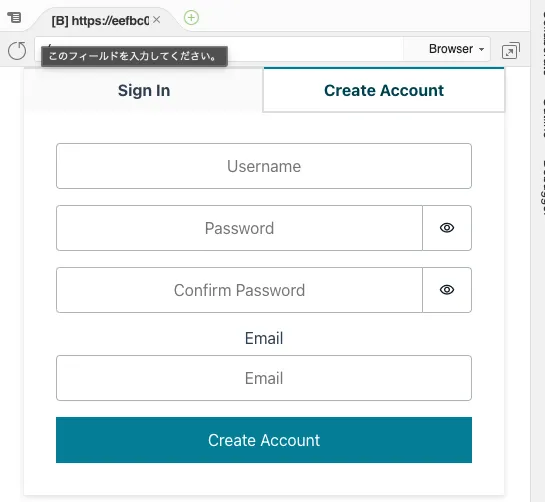
$ npm run startアカウント作成
ログイン・アカウント作成画面が出るので、アカウントを作成します。
サインイン後の画面
アカウントが作成できたら、下記のような画面になります。
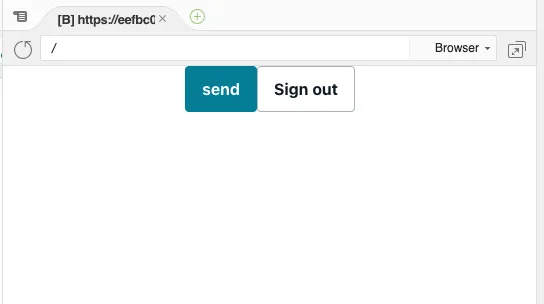
左側の “send” ボタンをクリックしてください。
すると、指定していたメールアドレスに下記のようなメールが届くはずです。
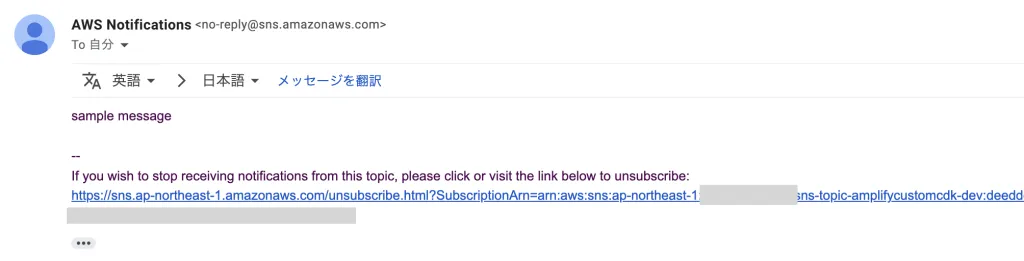
うまく書くことができれば、 Amplify で作成したリソースを custom で作成したリソースに連携させることができるはずなので、そうしたらかなり柔軟にリソースを構築することができるはずです。
この辺りは、 CDK 力を鍛えていかないといけませんね。