
[point_maker type=“heading_icon” base_color=“apple_green” title_icon=“info-circle-solid” title_color_background=“true” title_color_border=“false” content_type=“text” content_color_background=“true” content_color_border=“false” block_editor=“true”]
こちらは、 “ゆるWeb勉強会@札幌 Advent Calendar 2020” の 5日目の記事です。
[/point_maker]
前回からの続きです。
https://blog.tacck.net/archives/945
前回はいくつかのパラメータを直接 Lambda に設定していましたが、これをもっと良い形に変えたいと思います。
フロントエンドから渡す場合と、環境変数として組み込む場合、を見ていきます。
今回は、一からプロジェクトを設定する流れも併せて記載していきます。
前提
$ amplify -v
 Scanning for plugins...
 Plugin scan successful
 4.34.0
$
CLIでもろもろ操作できる状態の前提です。
フロントエンドは Vue.js での実装のみ確認しています。
Functions (Lambda) は Node.js 12.x を利用します。
プロジェクト準備
Vue CLI でプロジェクトを作成し、 Amplify の初期設定 ( amplify init ) は完了した状態から作業します。
$ vue create sample-vue

(snip)
🎉  Successfully created project sample-vue.
👉  Get started with the following commands:

 $ cd sample-vue
 $ yarn serve

$ cd sample-vue/
$ ls
./               .git/            README.md        node_modules/    public/          yarn.lock
../              .gitignore       babel.config.js  package.json     src/
$ amplify init
Scanning for plugins...
Plugin scan successful
Note: It is recommended to run this command from the root of your app directory
? Enter a name for the project samplevue
? Enter a name for the environment dev
? Choose your default editor: Visual Studio Code
? Choose the type of app that you're building javascript
Please tell us about your project
? What javascript framework are you using vue
? Source Directory Path:  src
? Distribution Directory Path: dist
? Build Command:  yarn build
? Start Command: yarn serve
Using default provider  awscloudformation

(snip)

Pro tip:
Try "amplify add api" to create a backend API and then "amplify publish" to deploy everything

$ yarn add aws-amplify @aws-amplify/ui-vue
$ vue add vuetify
$
src/main.js を下記のように変更しておきましょう。
import Vue from 'vue'
import App from './App.vue'
import '@aws-amplify/ui-vue'
import Amplify from 'aws-amplify'
import awsconfig from './aws-exports'
import vuetify from './plugins/vuetify'

Amplify.configure(awsconfig)

Vue.config.productionTip = false

new Vue({
  vuetify,
  render: h => h(App),
}).$mount('#app')
Auth / Cognito + Google OAuth 2.0
まずは、 Auth 機能を追加します。
$ amplify add auth
Using service: Cognito, provided by: awscloudformation

 The current configured provider is Amazon Cognito.

 Do you want to use the default authentication and security configuration? Default configuration with Social Provider (Federation)


 Warning: you will not be able to edit these selections.
 How do you want users to be able to sign in? Username
 Do you want to configure advanced settings? No, I am done.
 What domain name prefix do you want to use? samplevue2d551c93-XXXXXXXX
 Enter your redirect signin URI: http://localhost:8080/
? Do you want to add another redirect signin URI No
 Enter your redirect signout URI: http://localhost:8080/
? Do you want to add another redirect signout URI No
 Select the social providers you want to configure for your user pool: Google

 You've opted to allow users to authenticate via Google.  If you haven't already, you'll need to go to https://developers.google.c
om/identity and create an App ID.

 Enter your Google Web Client ID for your OAuth flow:  XXXX.apps.googleusercontent.com
 Enter your Google Web Client Secret for your OAuth flow:  XXXX
Successfully added auth resource samplevue2d551c93 locally

Some next steps:
"amplify push" will build all your local backend resources and provision it in the cloud
"amplify publish" will build all your local backend and frontend resources (if you have hosting category added) and provision it in the cloud

$ amplify push
✔ Successfully pulled backend environment dev from the cloud.

Current Environment: dev

| Category | Resource name     | Operation | Provider plugin   |
| -------- | ----------------- | --------- | ----------------- |
| Auth     | samplevue2d551c93 | Create    | awscloudformation |
? Are you sure you want to continue? Yes
⠦ Updating resources in the cloud. This may take a few minutes...

(snip)

Hosted UI Endpoint: https://samplevue2d551c93-XXXXXXXX-dev.auth.ap-northeast-1.amazoncognito.com/
Test Your Hosted UI Endpoint: https://samplevue2d551c93-XXXXXXXX-dev.auth.ap-northeast-1.amazoncognito.com/login?response_type=code&client_id=XXXXXXXXXXXXXXXXXXXXXXXXXX&redirect_uri=http://localhost:8080/


$
一回ごとに amplify push して行った方が安全です。
Storage
次に Storage を追加します。
$ amplify add storage
? Please select from one of the below mentioned services: Content (Images, audio, video, etc.)
? Please provide a friendly name for your resource that will be used to label this category in the project: s37b43a4d3
? Please provide bucket name: samplevue1fd4c3801f2243e9904f28ac84838e13
? Who should have access: Auth users only
? What kind of access do you want for Authenticated users? create/update, read, delete
? Do you want to add a Lambda Trigger for your S3 Bucket? No
Successfully added resource s37b43a4d3 locally

If a user is part of a user pool group, run "amplify update storage" to enable IAM group policies for CRUD operations
Some next steps:
"amplify push" builds all of your local backend resources and provisions them in the cloud
"amplify publish" builds all of your local backend and front-end resources (if you added hosting category) and provisions them in the cloud

$ amplify push
✔ Successfully pulled backend environment dev from the cloud.

Current Environment: dev

| Category | Resource name     | Operation | Provider plugin   |
| -------- | ----------------- | --------- | ----------------- |
| Storage  | s37b43a4d3        | Create    | awscloudformation |
| Auth     | samplevue2d551c93 | No Change | awscloudformation |
? Are you sure you want to continue? Yes
⠼ Updating resources in the cloud. This may take a few minutes...

(snip)

✔ All resources are updated in the cloud


$
API (GraphQL)
続いて API(GraphQL) 機能を追加です。
$ amplify add api
? Please select from one of the below mentioned services: GraphQL
? Provide API name: samplevue
? Choose the default authorization type for the API Amazon Cognito User Pool
Use a Cognito user pool configured as a part of this project.
? Do you want to configure advanced settings for the GraphQL API No, I am done.
? Do you have an annotated GraphQL schema? No
? Choose a schema template: Single object with fields (e.g., “Todo” with ID, name, description)

The following types do not have '@auth' enabled. Consider using @auth with @model
         - Todo
Learn more about @auth here: https://docs.amplify.aws/cli/graphql-transformer/directives#auth


GraphQL schema compiled successfully.

Edit your schema at /[YOUUR_PATH]/sample-vue/amplify/backend/api/samplevue/schema.graphql or place .graphql files in a directory at /[YOUUR_PATH]/sample-vue/amplify/backend/api/samplevue/schema
? Do you want to edit the schema now? No
Successfully added resource samplevue locally

Some next steps:
"amplify push" will build all your local backend resources and provision it in the cloud
"amplify publish" will build all your local backend and frontend resources (if you have hosting category added) and provision it in the cloud

$ amplify push
✔ Successfully pulled backend environment dev from the cloud.

Current Environment: dev

| Category | Resource name     | Operation | Provider plugin   |
| -------- | ----------------- | --------- | ----------------- |
| Api      | samplevue         | Create    | awscloudformation |
| Auth     | samplevue2d551c93 | No Change | awscloudformation |
| Storage  | s37b43a4d3        | No Change | awscloudformation |
? Are you sure you want to continue? Yes

The following types do not have '@auth' enabled. Consider using @auth with @model
         - Todo
Learn more about @auth here: https://docs.amplify.aws/cli/graphql-transformer/directives#auth


GraphQL schema compiled successfully.

Edit your schema at /[YOUUR_PATH]/sample-vue/amplify/backend/api/samplevue/schema.graphql or place .graphql files in a directory at /[YOUUR_PATH]/sample-vue/amplify/backend/api/samplevue/schema
? Do you want to update code for your updated GraphQL API Yes
? Do you want to generate GraphQL statements (queries, mutations and subscription) based on your schema types?
This will overwrite your current graphql queries, mutations and subscriptions Yes
⠋ Updating resources in the cloud. This may take a few minutes...

(snip)

GraphQL endpoint: https://XXXXXXXXXXXXXXXXXXXXXXXXXX.appsync-api.ap-northeast-1.amazonaws.com/graphql

$
Functions
最後に Functions 機能を追加します。
$ amplify add function
? Select which capability you want to add: Lambda function (serverless function)
? Provide an AWS Lambda function name: samplevuea2091ae5
? Choose the runtime that you want to use: NodeJS
? Choose the function template that you want to use: Hello World

Available advanced settings:
- Resource access permissions
- Scheduled recurring invocation
- Lambda layers configuration

? Do you want to configure advanced settings? Yes
? Do you want to access other resources in this project from your Lambda function? Yes
? Select the category auth, storage
Auth category has a resource called samplevue2d551c93
? Select the operations you want to permit for samplevue2d551c93 read
? Storage has 2 resources in this project. Select the one you would like your Lambda to access s37b43a4d3
? Select the operations you want to permit for s37b43a4d3 create, read, update, delete

You can access the following resource attributes as environment variables from your Lambda function
        AUTH_SAMPLEVUE2D551C93_USERPOOLID
        ENV
        REGION
        STORAGE_S37B43A4D3_BUCKETNAME
? Do you want to invoke this function on a recurring schedule? No
? Do you want to configure Lambda layers for this function? No
? Do you want to edit the local lambda function now? No
Successfully added resource samplevuea2091ae5 locally.

Next steps:
Check out sample function code generated in /amplify/backend/function/samplevuea2091ae5/src
"amplify function build" builds all of your functions currently in the project
"amplify mock function " runs your function locally
"amplify push" builds all of your local backend resources and provisions them in the cloud
"amplify publish" builds all of your local backend and front-end resources (if you added hosting category) and provisions them in the cloud

$ amplify push
✔ Successfully pulled backend environment dev from the cloud.

Current Environment: dev

| Category | Resource name     | Operation | Provider plugin   |
| -------- | ----------------- | --------- | ----------------- |
| Function | samplevuea2091ae5 | Create    | awscloudformation |
| Auth     | samplevue2d551c93 | No Change | awscloudformation |
| Storage  | s37b43a4d3        | No Change | awscloudformation |
| Api      | samplevue         | No Change | awscloudformation |
? Are you sure you want to continue? Yes
⠋ Updating resources in the cloud. This may take a few minutes...

(snip)

✔ All resources are updated in the cloud


$
フロントエンドからの渡し方
https://docs.amplify.aws/cli/graphql-transformer/function#n3rd-party-directives
オフィシャルのドキュメントにあるように、 API (GraphQL) のディレクティブとして指定するときのパラメータとすることで、 Functions (Lambda) へ値を渡すことが可能です。
とはいえ、 AppSync を経由する必要はないので、下記のように Mutation を定義します。
type Todo @model {
  id: ID!
  name: String!
  description: String
}

type Mutation {
  deleteObject(
    key: String
    cognitoEndpoint: String
    identityId: String
    token: String
  ): String @function(name: "samplevuea2091ae5-${env}")
}
これを、フロントエンドから呼び出します。(全体は最後に)
    deleteFromS3: async function () {
      const cognitoEndpoint = (
        await Auth.currentUserPoolUser()
      ).client.endpoint.substring(8) // 'https://'を削除する

      const identityId = (await Auth.currentUserInfo()).id

      const token = (await Auth.currentUserPoolUser()).signInUserSession.idToken
        .jwtToken

      const result = await API.graphql(
        graphqlOperation(deleteObject, {
          key: this.objectName,
          cognitoEndpoint: cognitoEndpoint,
          identityId: identityId,
          token: token,
        }),
      )
      console.log(result)
    },
Lambda ではこれを受け取って使います。(こちらも全体は後ほど)
exports.handler = async event => {
  const key = event.arguments.key
  const cognitoEndpoint = event.arguments.cognitoEndpoint
  const identityId = event.arguments.identityId
  const token = event.arguments.token
(snip)
環境変数の追加
フロントエンドで受け取った情報を Functions へ渡す方法はわかりました。
では次に、環境変数を追加して Functions (Lambda) で使う方法をみてみます。
今回は、 AWS::Cognito::IdentityPool の IdentityPoolId が必要です。特にこの値は Amplify の env によって変わる(AWSのリソースが変わる)ので、環境変数化しておきましょう。
設定の仕方はドキュメントにあります。
https://docs.amplify.aws/cli/usage/customcf
色々ありますが、今回は先の Functions 機能追加時に連携設定した Auth 機能に関わるものなので、下記の設定で使えるようになります。
{
  "authsamplevue2d551c93IdentityPoolId": {
    "Fn::GetAtt": [
      "authsamplevue2d551c93",
      "Outputs.IdentityPoolId"
    ]
  }
}
(snip)
"Parameters": {
"CloudWatchRule": {
"Type": "String",
"Default": "NONE",
"Description": " Schedule Expression"
},
"env": {
"Type": "String"
},
"authsamplevue4f701058UserPoolId": {
"Type": "String",
"Default": "authsamplevue4f701058UserPoolId"
},
"storages34d9178a5BucketName": {
"Type": "String",
"Default": "storages34d9178a5BucketName"
},
"authsamplevue2d551c93IdentityPoolId": {
"Type": "String",
"Default": "authsamplevue2d551c93IdentityPoolId"
}
},
(snip)
"Environment": {
"Variables": {
"ENV": {
"Ref": "env"
},
"REGION": {
"Ref": "AWS::Region"
},
"AUTH_SAMPLEVUE4F701058_USERPOOLID": {
"Ref": "authsamplevue4f701058UserPoolId"
},
"STORAGE_S34D9178A5_BUCKETNAME": {
"Ref": "storages34d9178a5BucketName"
},
"SAMPLEVUE_IDENTITY_POOL_ID": {
"Ref": "authsamplevue2d551c93IdentityPoolId"
}
}
},
(snip)最後に、 Lambda のコード全体を下記のようにします。
/* Amplify Params - DO NOT EDIT
	AUTH_SAMPLEVUE2D551C93_USERPOOLID
	ENV
	REGION
	STORAGE_S37B43A4D3_BUCKETNAME
Amplify Params - DO NOT EDIT */

const AWS = require('aws-sdk')

const USERPOOL_ID = process.env.AUTH_SAMPLEVUE2D551C93_USERPOOLID
const BUCKETNAME = process.env.STORAGE_S37B43A4D3_BUCKETNAME
const IDENTITY_POOL_ID = process.env.SAMPLEVUE_IDENTITY_POOL_ID

exports.handler = async event => {
  const key = event.arguments.key
  const cognitoEndpoint = event.arguments.cognitoEndpoint
  const identityId = event.arguments.identityId
  const token = event.arguments.token

  const cognitoLogins = {}
  cognitoLogins[`${cognitoEndpoint}${USERPOOL_ID}`] = token

  AWS.config.credentials = new AWS.CognitoIdentityCredentials({
    IdentityPoolId: IDENTITY_POOL_ID,
    Logins: cognitoLogins,
  })

  const S3 = new AWS.S3({
    signatureVersion: 'v4',
  })

  const targetKey = `private/${identityId}/${key}`

  await S3.deleteObject({ Bucket: BUCKETNAME, Key: targetKey })
    .promise()
    .catch(err => console.error('removeS3Object', err))

  const response = {
    statusCode: 200,
    body: JSON.stringify('Delete S3 Object from Lambda'),
  }
  return response
}
諸々終わったら、 amplify push をしましょう。
成功したら、設定は完了です。
動作確認
実際にどういう風になるのか、動作確認をしてみます。
フロントエンドの Vue.js コンポーネントは、下記のようなコードで確認します。
<template>
  <v-container>
    <v-row>
      <v-col>
        <amplify-google-button @click="signInGoogle"></amplify-google-button>
      </v-col>
    </v-row>
    <v-row>
      <v-col>
        Input <input type="file" accept="image/png" @change="changeInput" />
      </v-col>
      <v-col>
        <v-btn @click="deleteFromS3">Delete</v-btn>
      </v-col>
    </v-row>
    <v-row>
      <v-col>
        <v-img :src="src"></v-img>
      </v-col>
    </v-row>
  </v-container>
</template>

<script>
import { Auth, Storage, API, graphqlOperation } from 'aws-amplify'
import { deleteObject } from '../graphql/mutations'

export default {
  data: function () {
    return {
      src: '',
      key: '',
      objectName: 'example.png',
    }
  },
  methods: {
    signInGoogle: async function () {
      await Auth.federatedSignIn({ provider: 'Google' })
    },
    changeInput: function (event) {
      this.key = ''
      console.log(this.key)
      const file = event.target.files[0]
      Storage.put(this.objectName, file, {
        contentType: 'image/png',
        level: 'private',
      })
        .then(async (result) => {
          console.log(result)
          this.src = await Storage.get(result.key, { level: 'private' })
        })
        .catch((err) => console.log(err))
    },
    deleteFromS3: async function () {
      const cognitoEndpoint = (
        await Auth.currentUserPoolUser()
      ).client.endpoint.substring(8) // 'https://'を削除する

      const identityId = (await Auth.currentUserInfo()).id

      const token = (await Auth.currentUserPoolUser()).signInUserSession.idToken
        .jwtToken

      const result = await API.graphql(
        graphqlOperation(deleteObject, {
          key: this.objectName,
          cognitoEndpoint: cognitoEndpoint,
          identityId: identityId,
          token: token,
        }),
      )
      console.log(result)
      this.src = ''
    },
  },
}
</script>
画面で表示すると、下記のようになります。
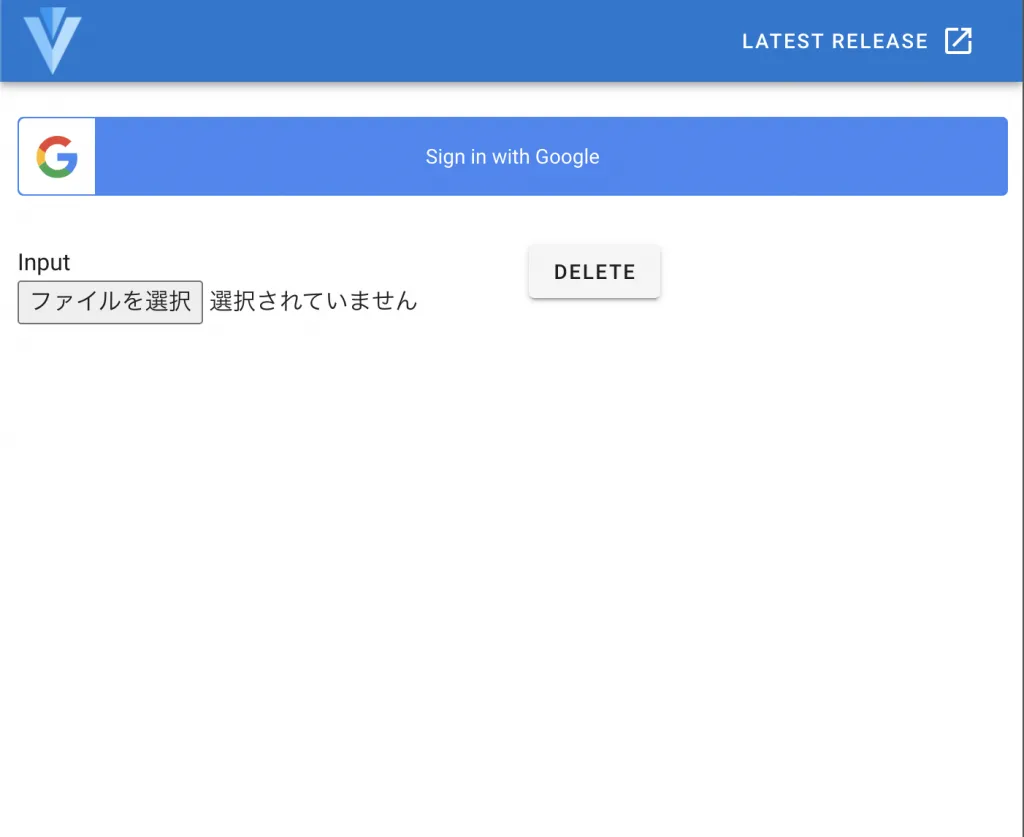
Sign in with Google からサインインした後に、 ファイルを選択 ボタンから PNG 画像を選択すると、 S3 へアップロードされます。
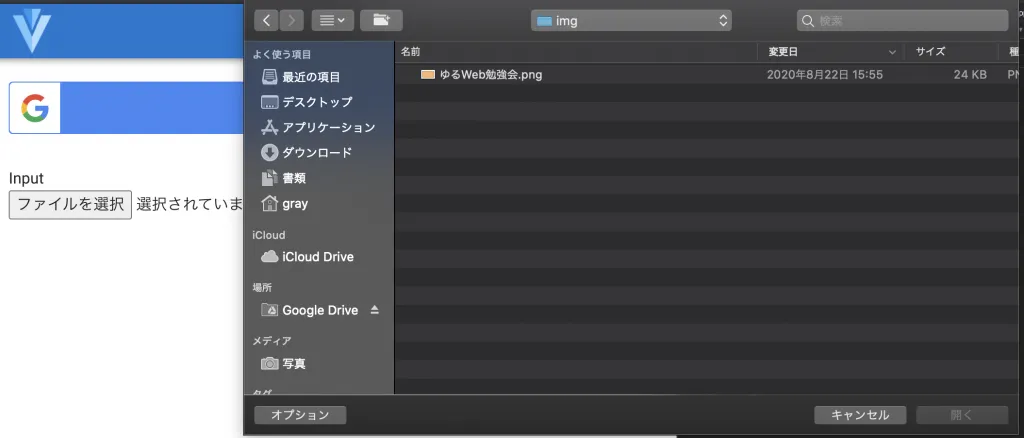
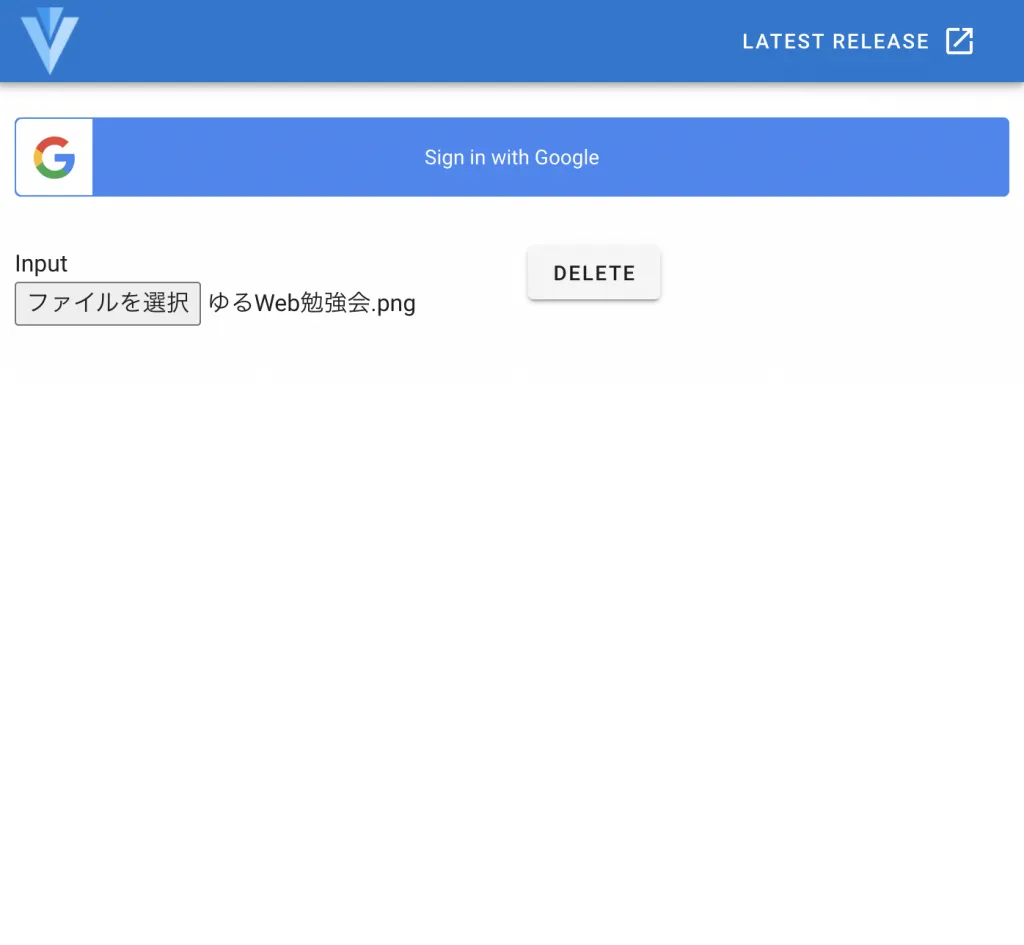
“ファイルを選択”ボタンをクリック

画面にアップロードした画像が表示される
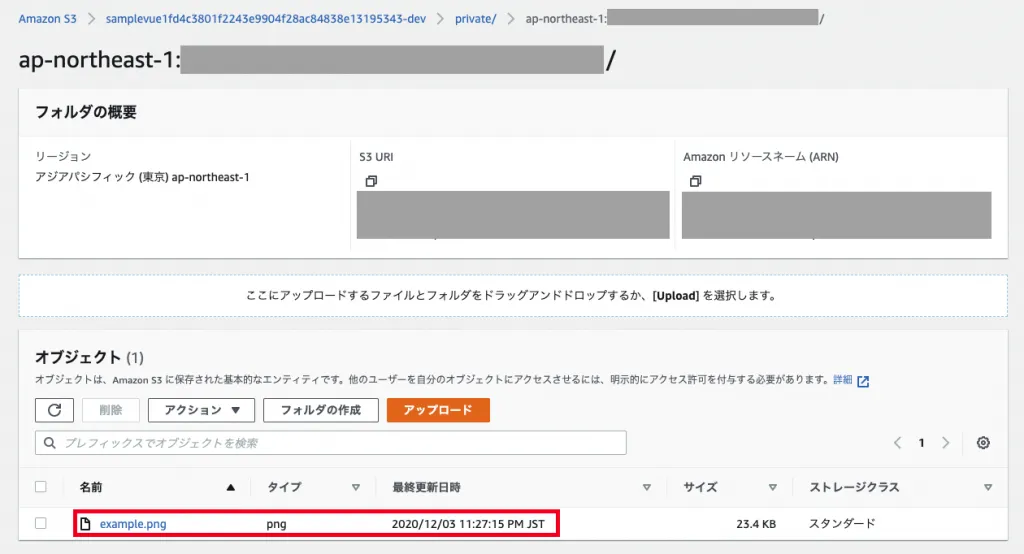
“example.png” としてアップロードされている
では、次にアップロードしたファイルを S3 から削除しましょう。 DELETE ボタンをクリックします。
ブラウザ上かはら表示が消える
ブラウザでは画像表示が消えました。 S3 の方も消えていることを確認しましょう。
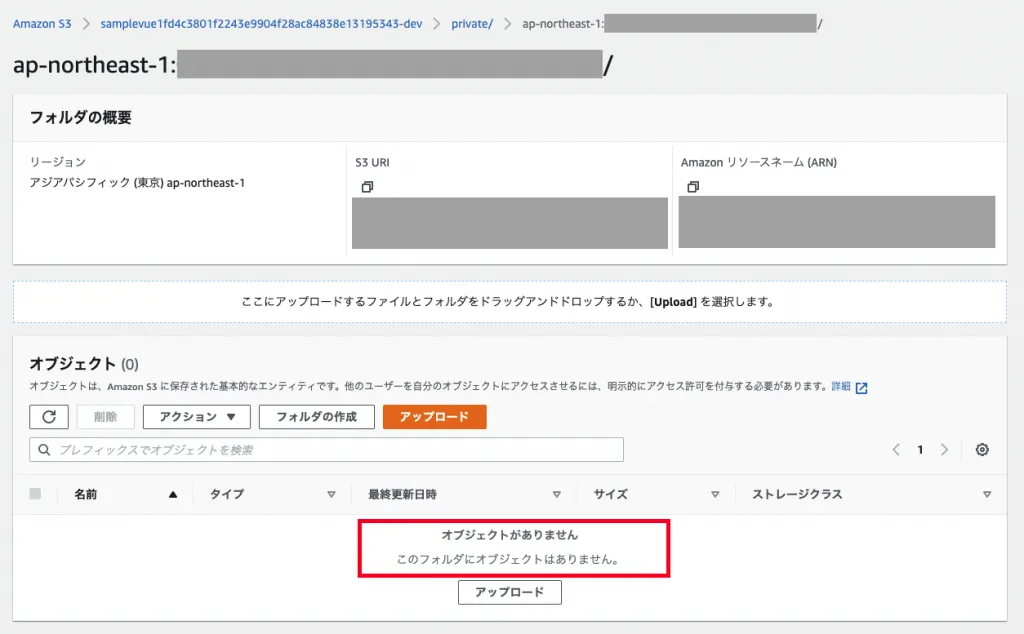
削除されていることを確認
無事に削除できました!
これによって、 「 AWS Amplify において Federation (Google OAuth 2.0) による認証を行なったユーザーで Storage 機能の private で S3 へアップロードしたファイルを、 Functions 機能の Lambda から操作する」ということを実現できました。
実現するにあたって必要な情報を、 API (GraphQL) 経由で、また、 Functions 機能の環境変数追加設定によって、 Lambda へ渡しています。
まとめ
前回と今回の作業で、比較的安全な状態で S3 にファイルをアップロードし、そのファイルを操作する、ということを実現できました。
これで何をやれるかというと、アップロードした画像の縮小画像を安全な場所で実現できる、ということになります。(S3のバケットを公開しなくても良いので、アップロードしたユーザーだけが画像を表示できます。)
縮小画像を生成せずに直接表示するだけなら Storage 機能だけで完結できるのでとても簡単ですが、今回のようにセキュリティに配慮しようとすると、意外と大変でした。
全般的に Auth で Federation 機能 (外部の OAuth の利用) をしようとした場合の具体的な情報が、英語で検索してもあまり出てこなかったりするので、誰かの助けになれば幸いです。